|
Recently I have been talking a bunch with the teacher at my school who is in charge of the 3D printer. And as I had a formal event coming up, I decided to print something real simple... A pair of cuff links. They turned out looking really good and I thought they were amazing, until I made one mistake. The shirt i had didn't have cuffs for cufflinks. Oops The first step was to simply design the cufflinks. That was very simple as cufflinks aren't very complex. 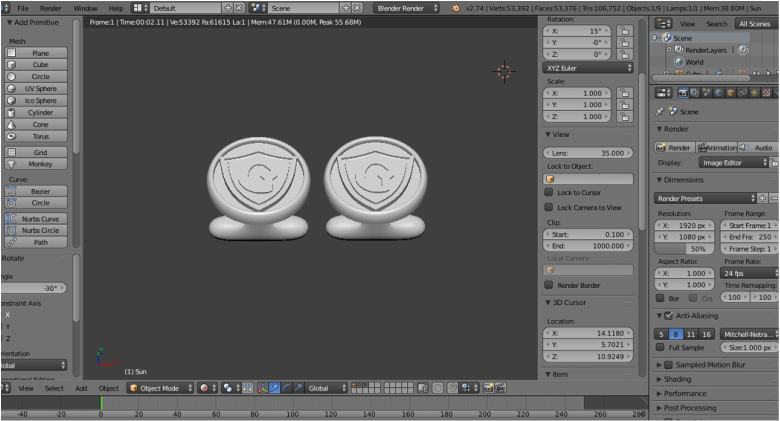
Next was the fun part, to put it into the 3D printer. Using the makerbot software and some help from my teacher, we got it onto the 3D printer. We started it up and let it run. By the time I got back to the printer, they were done and looked amazing. 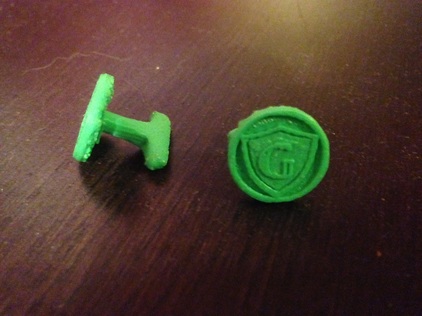 Now all I have left to do is wait for another formal event and get a shirt with cuffs.
0 Comments
Another thing I'm into is Star Wars. I'm a big fan. So of course I eventually had to make a lightsaber. The build itself was pretty simple. Basic extruding, subdivision surfaces, and a simple metal-like material... And then I learned about my new favorite website, http://Blenderguru.com. Blender Guru is a bunch of blender tutorials that greatly improved the quality of my work. The first thing I used was their tutorial on realistic texturing. With that I made the floor that the lightsaber was on. That looked really good. Then I found the tutorial on the compositor. This is what made it look outstanding. I created a glowing effect on the lightsaber and learned that I could stop the light that was shining on the lightsaber to not reflect on the ground. This made the great photo where you can see the handle but the only thing illumination the ground is the blade. The final image made a great wallpaper 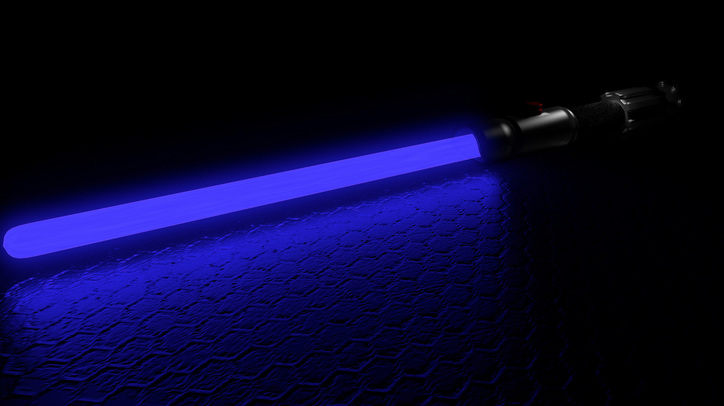
So one of my favorite super hero's is iron man. So of course I had to make an iron man helmet in blender. I made the original animation version where each part was an individual object. I then made another version where i combined all 3 parts into one object and added faces in between them. By the time I made the desktop version, I learned about the mean crease option which allows the sharper creases when I use the subdivision surface modifier. I then changed the texture to add a toon texture. I think the image is a really cool background that gives a comic book feel. 
This image is the same model as the animation except all the pieces are joined together, and the mean crease is applied. I also added a cool case and some simple tools and such around just to add to the scene. 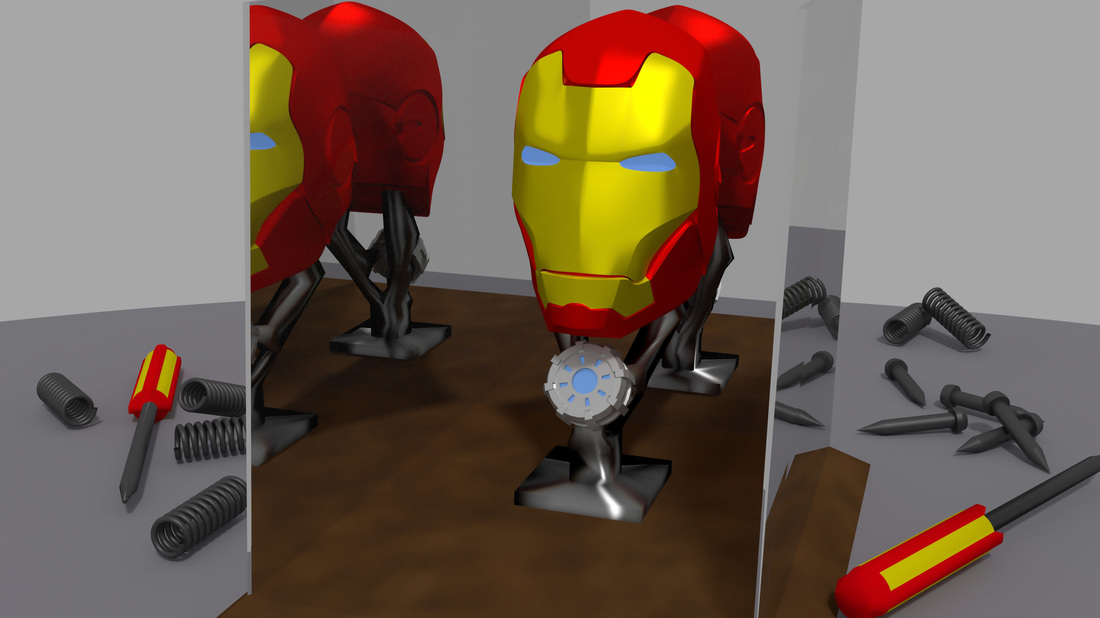
As part of a school project, my teacher told us to make a 3D model of a Chinese Junk ship. Even though this doesn't look exactly like a junk ship, my teacher still liked it. I used that project to learn about using image textures for objects. I also experimented with simple background styles. This one didn't turn out that well as it was just a cylinder with an image on it. It still turned out looking ok. I also used a youtube tutorial to learn how to make a camera fly around and that turned out looking really good. 
 So a while back I saw a .gif of a spinning yin and yang symbol. It looked fairly simple to make so I gave it a try in blender. Came out looking pretty good. Not the most perfect circle but I thought it looked really good.
On my old computer I had a bunch of the basic youtube blender tutorials that I made such as the teacup and planet explosion tutorial. My first real design that I made was a very simple lacrosse head in a field. I used the blender particle system to make the grass and used the array modifier to make the mesh and then tediously moved it all around manually. All in all it turned out great and made a great wallpaper. 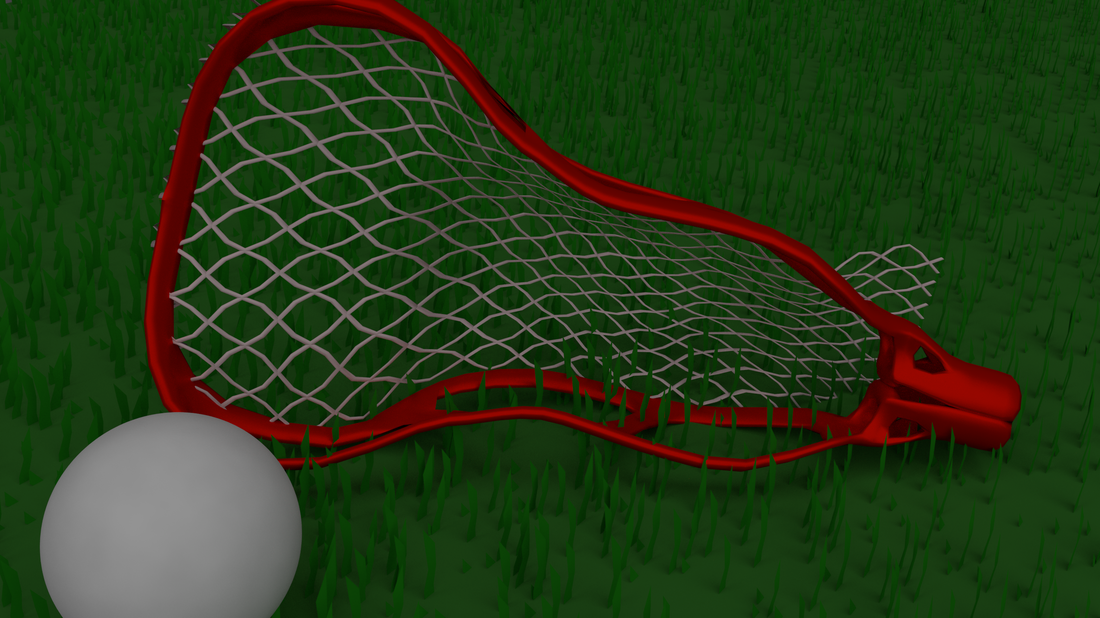
|
AuthorMy name is Nathan and I enjoy building and creating things, weather it be out of wood, paper, or even on the computer. I want to start recording all of the fun things so this is where I am. Why Does this existI have recently started to play with Blender. A 3D modelling and design software. I have also built several costumes and helmets which I will be posting future ones up here. This site is mostly about that and other projects I might have.
If you're interested in this stuff...So I use a program called blender which is a great opensource modelling program. This allows you to model, and also animate and ever program games. Its a great program to use as there are endless possibilities.
http://www.blender.org Another useful site is for the helmets and such that I make. This is from a papercraft design program called Pepakura. It allows you to print out designs to build whatever you want. There are tons of tutorials online to see how to use it. http://www.tamasoft.co.jp/pepakura-en/ Archives
January 2016
Categories |
||||||||||||||||||||||||||||
 RSS Feed
