|
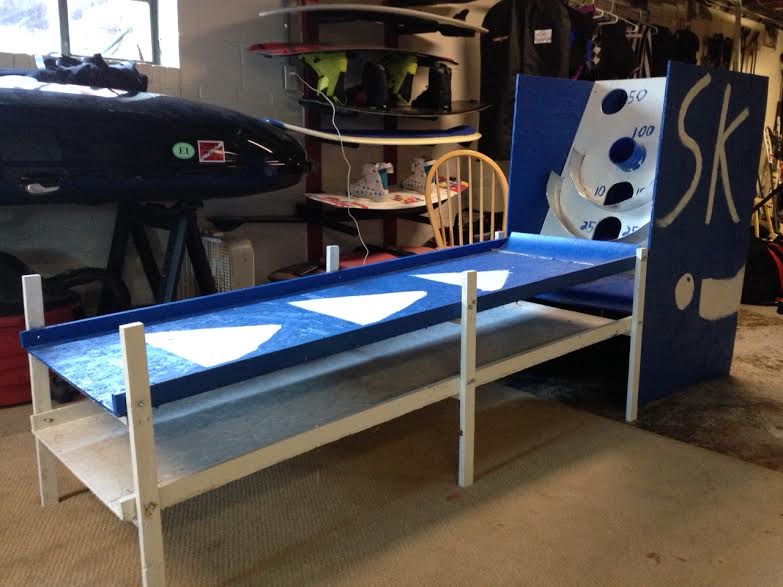
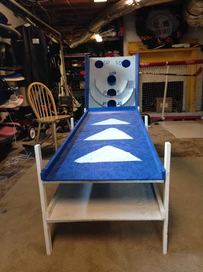
This little toy has been sitting in my basement since my 8th grade school mardi gras party, and has since been pulled out now that my sister is in 8th grade. In 8th grade, I was a big fan of those arcade skee ball machines, and decided to make one for a class party. After being inspired by other projects like this, I designed my own machine. Mine was not nearly as elaborate, as it just consisted of a multi layered track, and upright face plate, and a ramp for the thrown balls to roll on down to the lower track. I designed this and then with the help of my parents built it with the basic tools we had in our basement. Then I used a cardboard tube for the ramp by cutting out a quarter of the tube. The last step was to get together with my friends and give it an amazing (not so good now) paint job.
Unfortunately, I didn't record any of the process of me making it at the time.
0 Comments
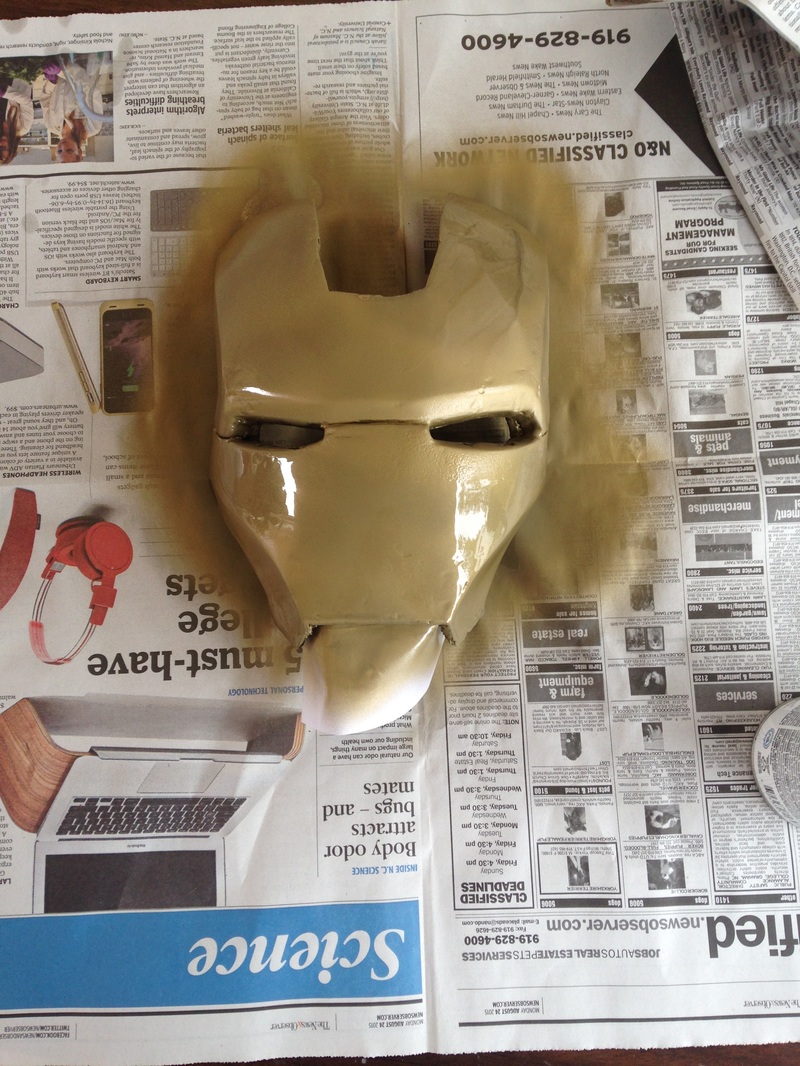
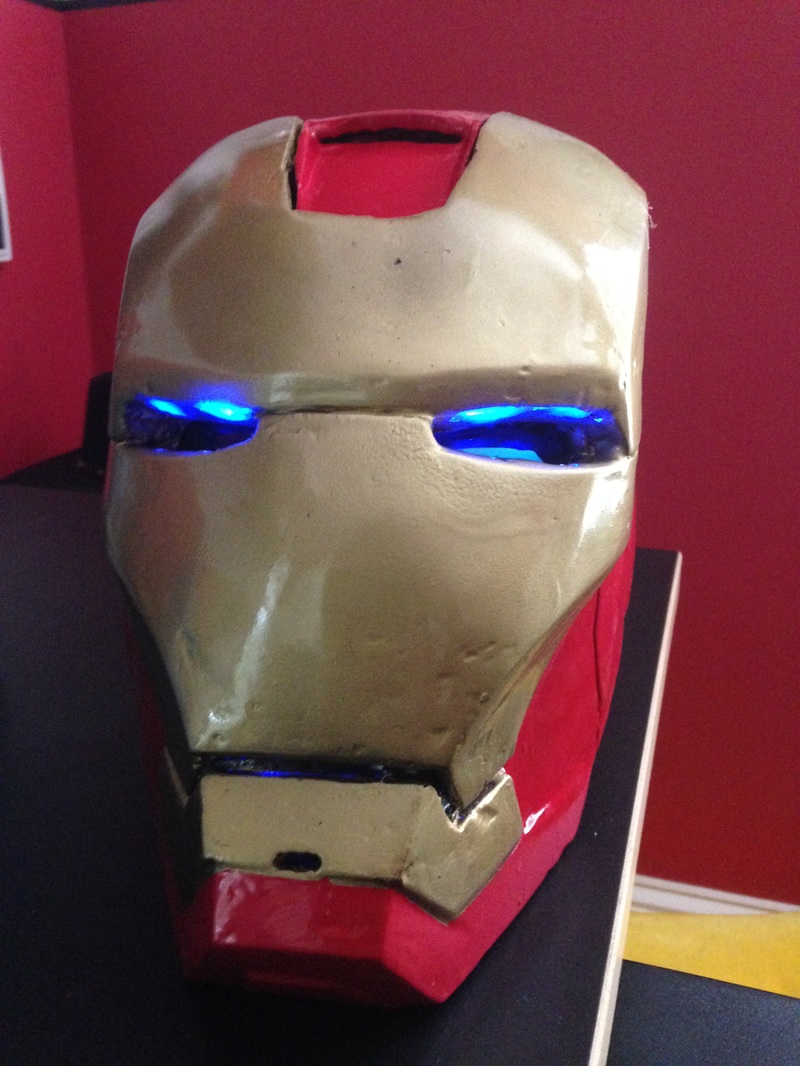
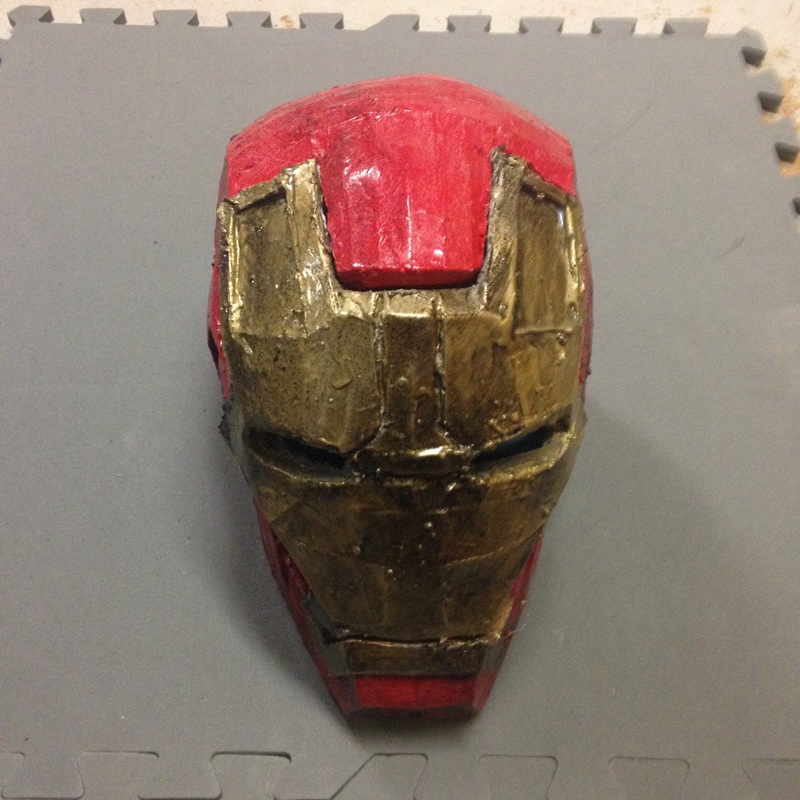
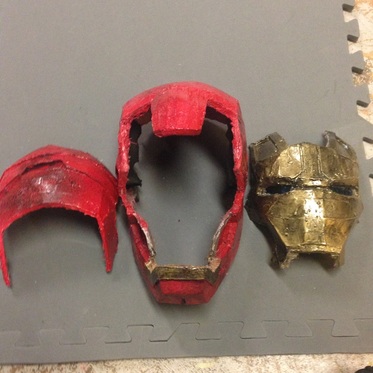
So its been a while since I finished the Iron Man. I figured I'd give one final update. After finally getting a successful wiring setup, I found out the face mask was way too heavy to run on either set of servos... So i scrapped that and found a simple setup that only required 4 lights and a simple switch in the center of the face mask which I then used magnets to hold it in place. I also added two magnets on top so that I can have the appearance of a raised mask. After adding these I added another coat of primer and began to spray paint. I used a metallic gold and Glossy red. I then sprayed a light coat of black over the corners and wiped it off with a paper towel for a slightly weathered look. Lastly I added a coat of poly euro thane over everything to protect it. In my opinion it looked really good.
Bonus Iron Man: This last thanksgiving, I found out my young baby cousin was a big Iron Man fan As well. And after the completion of my Iron Man, i began work on a new on, the mark 42, which turned out too small for my head. I decided to finish that helmet using the same process as mine to give to my cousin. The one step I skipped was the bondo because of time constraints. I think it still turned out pretty good too.
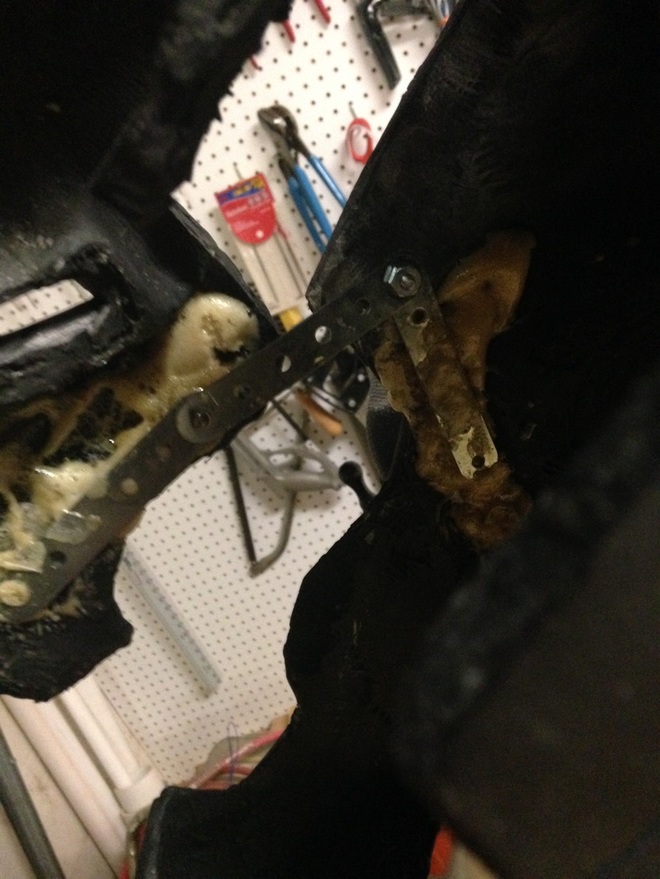
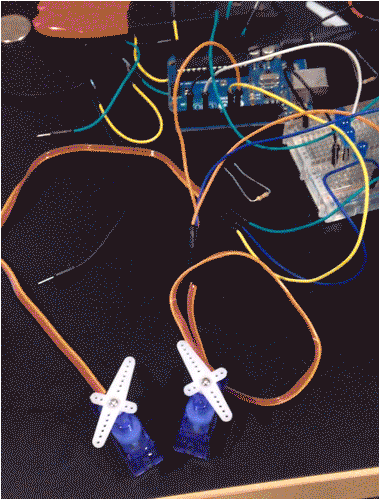
Before I got the servos, I hooked up a simple joint using some simple aluminum beams I hound at the hardware store. I screwed them loosly together in a Z shape so that one piece would hook up to the mask and one piece would hook up to the main part of the helmet. The piece in the middle would be the hinge to hold it open. I just put these on with a whole lot of gorilla glue which i will paint over later. When I finally got the servos I needed for the face plate, I found this page on the RPF. This shows a different way of wiring the face plate and explains that you could hurt the arduino by running the servos through the 5v pin on the arduino. I then tried wiring the new diagram up and I couldn't figure out how to get it to work. What I came up with was using the original wiring but run the servos straight from the battery instead of through the arduino. Unfortunately there was not enough power going to the servos so instead I wired the servos to a separate battery. The one important thing I had to do was to make sure a wire hooking up to the negative wire on the servos ran to both batteries. This is so you can complete the circuit with both the battery for the servos and for the pin that the arduino uses to tell the servo when to move. After fine tuning the programming to fit my helmet, I glued one more of the aluminum bars to each of the servos for a better look and farther turn radius for the servos. Lastly I got some 90 degree hinges which I glued on the face mask so that the beams can pivot and hold onto the face plate.
|
AuthorMy name is Nathan and I enjoy building and creating things, weather it be out of wood, paper, or even on the computer. I want to start recording all of the fun things so this is where I am. Why Does this existI have recently started to play with Blender. A 3D modelling and design software. I have also built several costumes and helmets which I will be posting future ones up here. This site is mostly about that and other projects I might have.
If you're interested in this stuff...So I use a program called blender which is a great opensource modelling program. This allows you to model, and also animate and ever program games. Its a great program to use as there are endless possibilities.
http://www.blender.org Another useful site is for the helmets and such that I make. This is from a papercraft design program called Pepakura. It allows you to print out designs to build whatever you want. There are tons of tutorials online to see how to use it. http://www.tamasoft.co.jp/pepakura-en/ Archives
January 2016
Categories |
 RSS Feed
