|
So the next step is to start getting the electronics of the helmet together. I'm using an arduino uno that I can program in the LEDs for the eyes and servos to open and close the mask. I ordered a pack of LED's, and arduino servos, and a pair of cheap shaded blue glasses off of amazon. My plan is to drill holes in the bottom of the eye sockets for two LED's per eye. Behind the eye socket will be the lenses from the glasses. As I am not very good at programming, I used the coding and wiring from here. The only problem I had was I had to turn the button 90 degrees of of what was said and have it jump over the center of the bread board. I chose the flickering light option off of the forum and this gave me a really cool result. I haven't done anything with the actual mask but I wired what I could into an old foam version of the mask piece. At this point i have not gotten the servos in the mail, so I am just using the LEDs right now.  This is my first test of the lights. Next i need to get the servos, wire them up and make sure they work before putting them in the helmet. I also plan to solder all the wires to keep a solid connection.
0 Comments
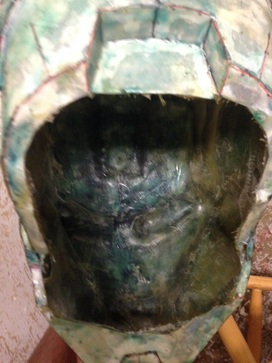
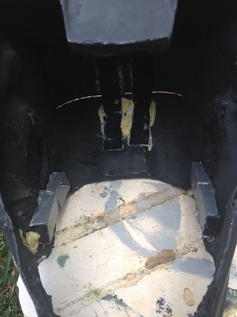
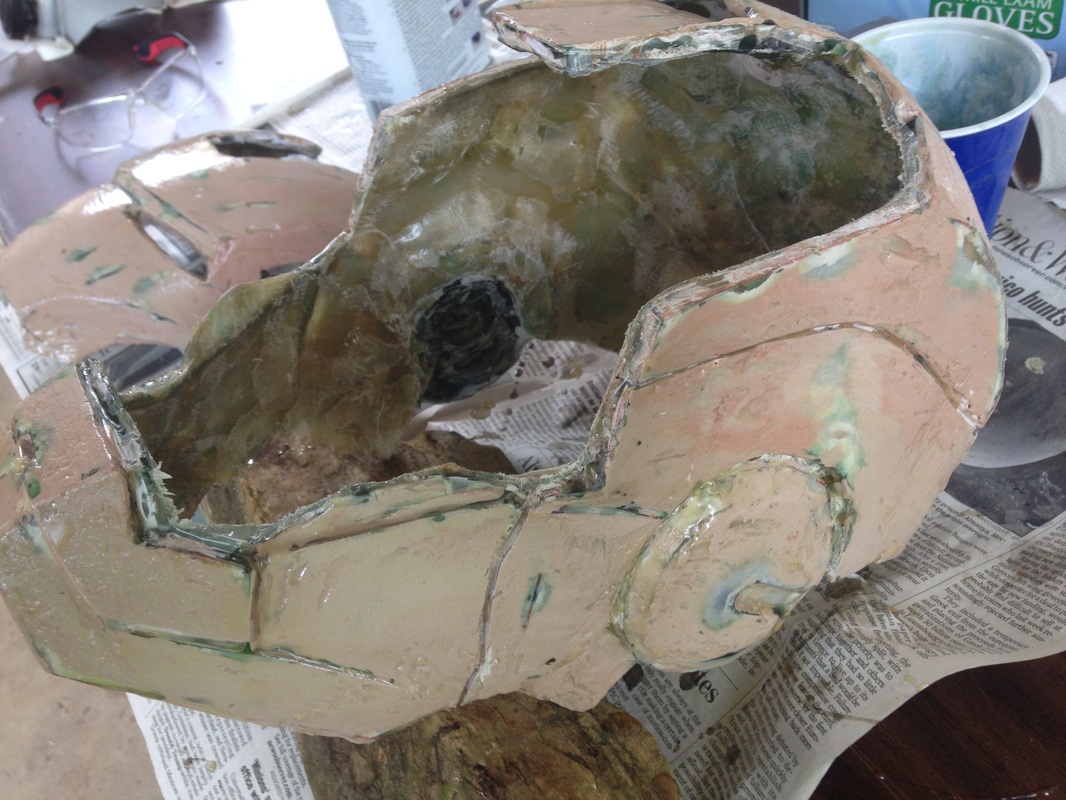
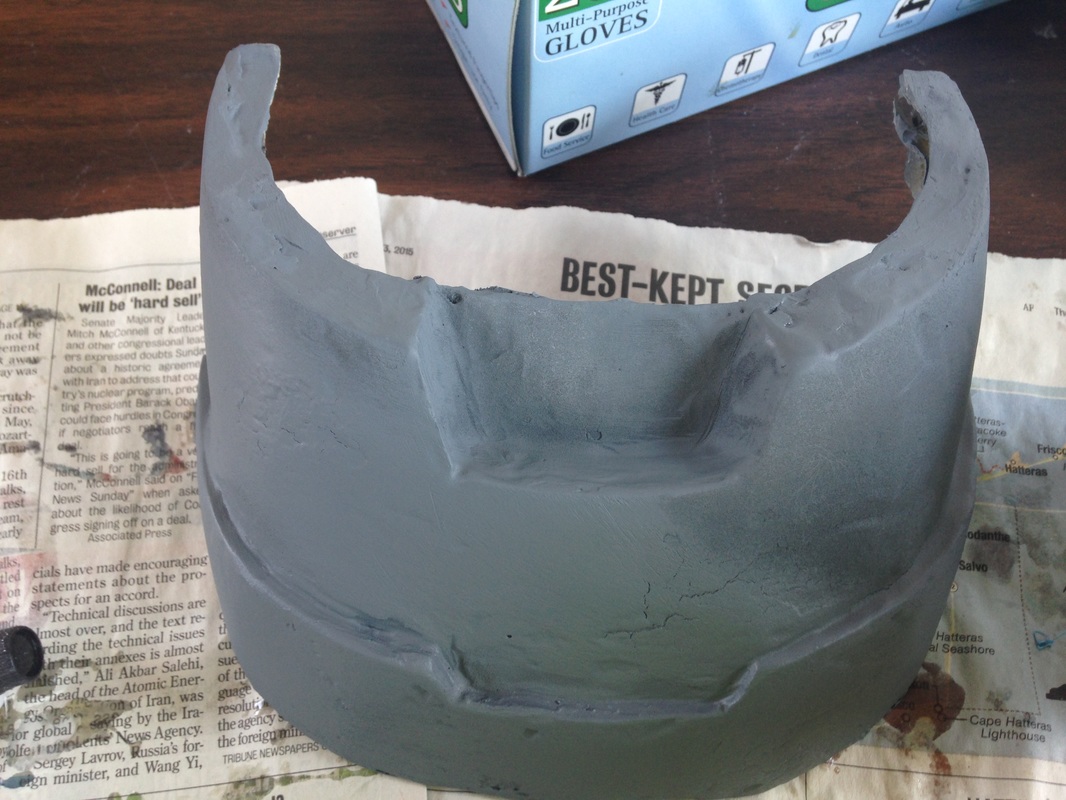
I had to remove the lower two layers of the back of the iron man helmet so that I could make the opening big enough to fit my head in. Now I have to figure out how to put it back on in such a way that it wont fall off and I can put the helmet on and off. What I came up with was a simple strap in the back of the helmet and two magnets on each side around the jawline to keep them on. By keeping the part of the straps near the crease unglued, I could push the back piece back and fold it up to put my head in. As soon as I stopped holding it, It would fall and the strong magnets would put it perfectly in place.
Using PVA foam, I also created a rim around the back of the ear piece. This takes the place of the material I dremeled out to give more room for my ear. I sharpied that black to make it match.
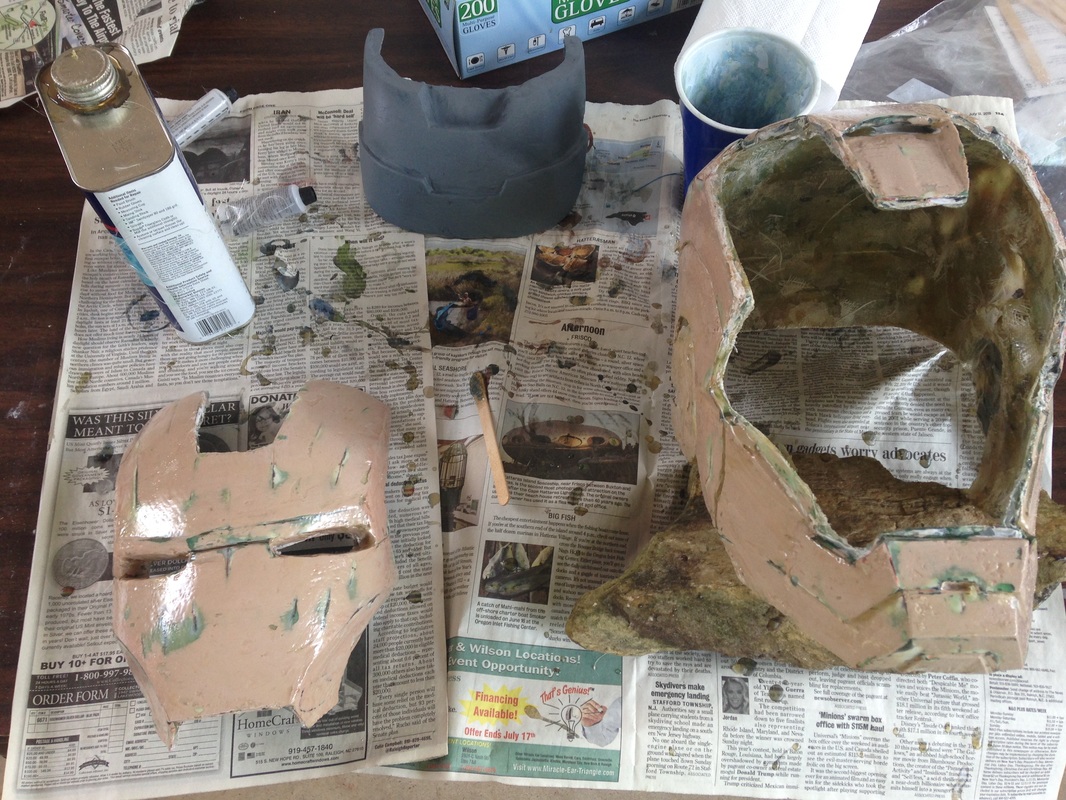
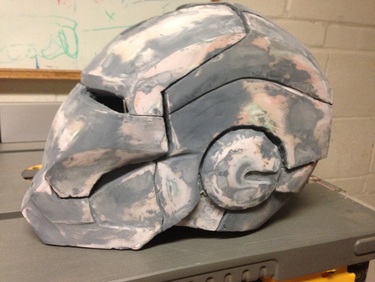
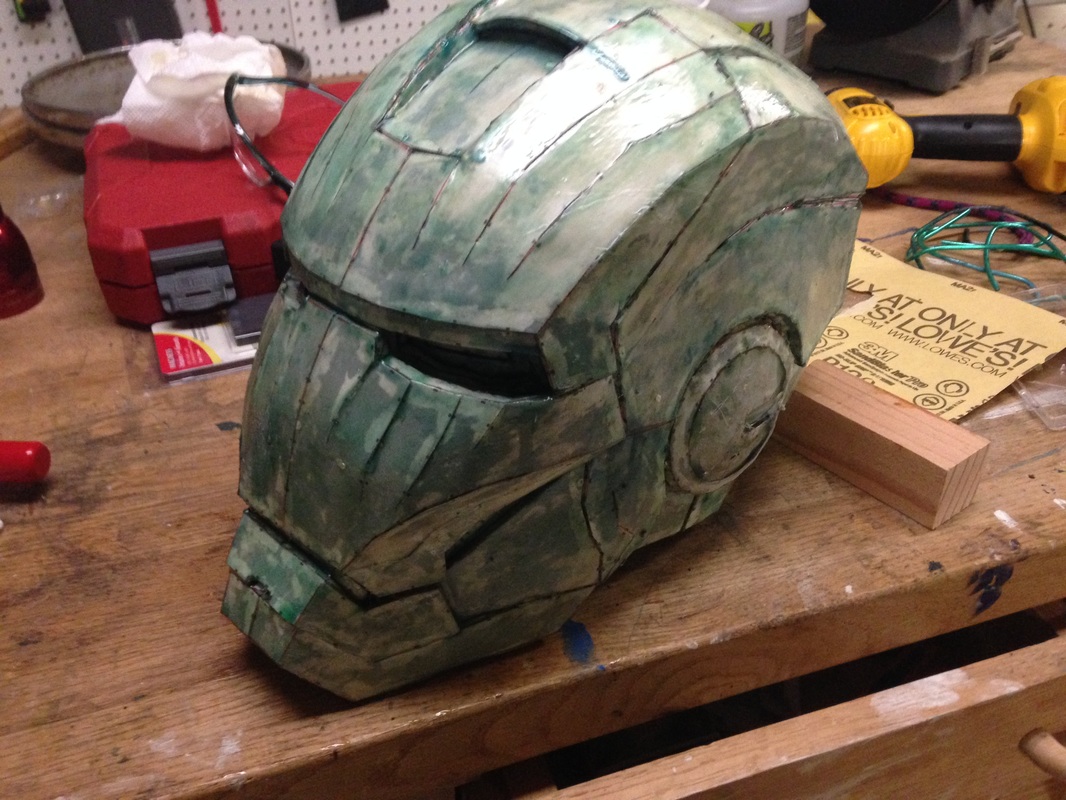
You might also notice the magnets are covered in duct tape. This is because I have hearing aids that change mode in the presence of batteries. Its used for phones but these magnets affect it too. Lastly I spray painted everything inside with the primer to make it match. The next step in building the iron man helmet was to add bondo to the entire outside. After sanding the entire helmet and roughing up the fiberglass, I slowly added bondo to one face at a time. I would apply it, then smooth out the edges using a knife before it fully dried, then sanded it all until it was very smooth. I was basing it off of a tutorial I found here which gave great tips on how to put on the bondo, and also how to make the rest of the helmet. After sanding the bondo, I then used a dremel tool to clear out the detail lines. I also then cut out the face mask and the lowest two faces on the back of the helmet so I could fit my head in the helmet. I then wanted to keep sanding all of the pieces and add another layer of bondo, butI didn't have enough for a second coat. So what I came up with was applying two more layers of fiberglass resin to the outside. This smoothed out all of the bumps, but it didn't completely remove the major ones. It was a great help though. I could sand down the fiberglass much smoother because it was a liquid giving it a smoother covering. At this point I bought an electric sander which helped smooth it out tremendously.
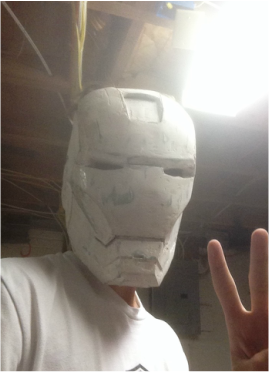
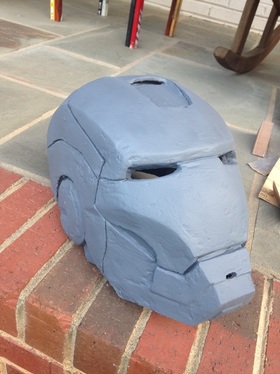
When dremeling out the face plate and back, another thing I did was cut out the inner layer of the ears. This gave my ears much more room and I also cut an opening in the back of the ear that you can see in the picture above. This allowed me to slide the helmet on and off much easier The next step, which you can see I started on the back piece above, was to prime the entire helmet. This allowed me to see all the little divots and dents. I would then sand away as much as I could and then prime it again. I did this two or three times.
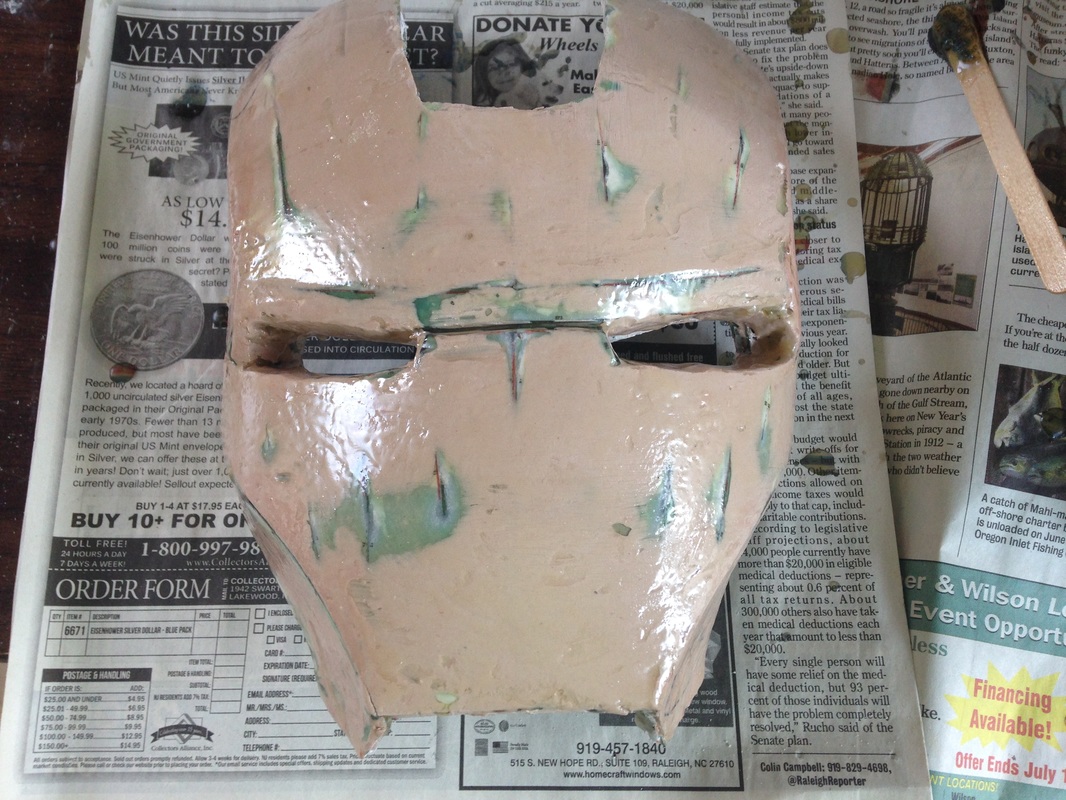
As you can see, there are a lot of rough patches. After a few rounds of sanding and priming, I took the bondo that I had left and filled it only into the divots. This smoothed only the bumps and then I could sand that down to get a very smooth result. Once I sanded down all the bondo, I added one more layer of primer to finish it off. 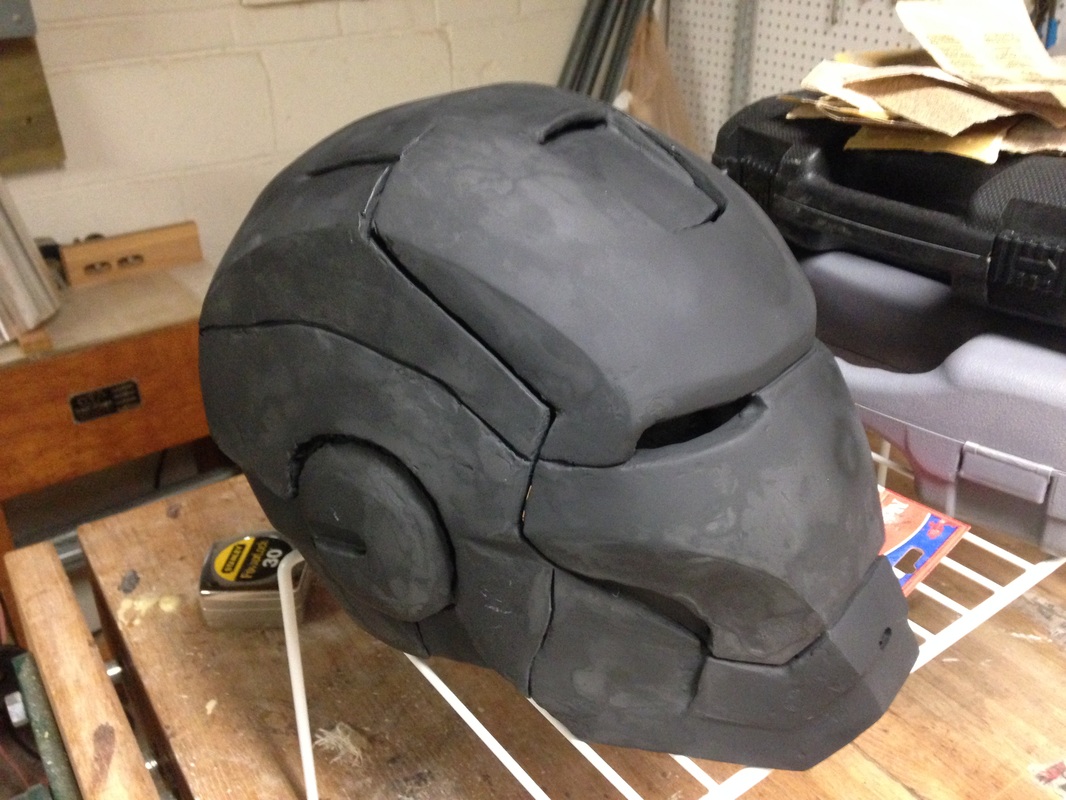 This is the helmet after it was sanded multiple times and then with one final coat of primer.
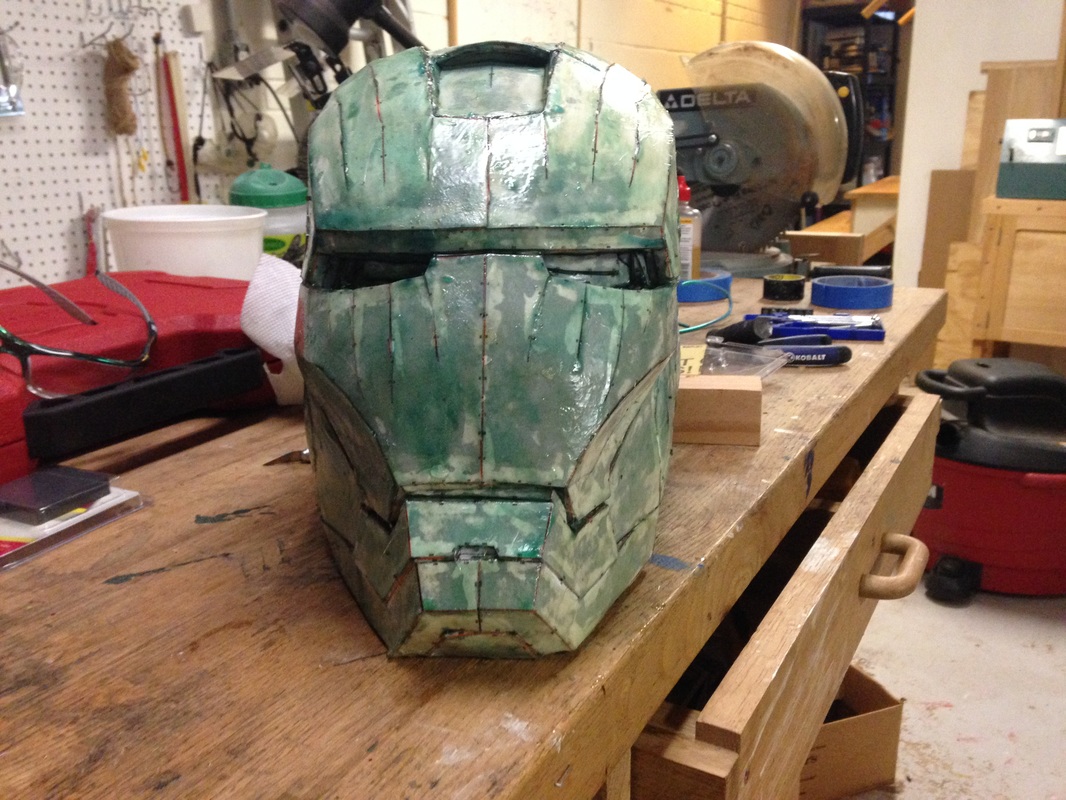
The next step of the Iron Man helmet is to fiberglass it. I spent two days fiber glassing it using just resin and matting from the hardware store. I started out by adding a coat of resin to the entire inside and outside. Then I added two layers of fiberglass strips to the inside of the helmet. Lastly I added one more layer of resin to the outside. This made the helmet very strong and durable. The last thing I did was use gorilla glue to put the ears in place.
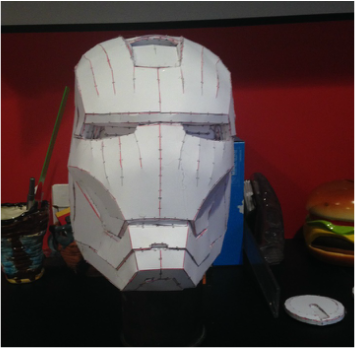
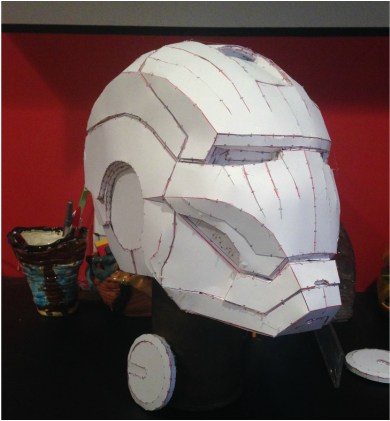
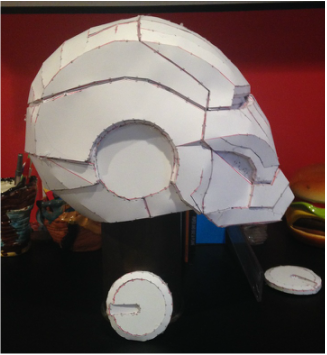
 Ive Decided to take a break from the VW Beetle i've been working on. Instead I started working on an Iron Man helmet. I found the helmet on the Thingaverse website by makerbot here, but I know this is not the original source. I believe the original is somewhere on the RPF forums. I used a program called pepakura which makes a printable paper template which can then be used to cut and fold into the desired shape. This helmet took four days of work to get to where it is now. I plan to fiberglass it and use bondo to smooth it up. I would also like to add lights and servos to the face mask but we'll see where that takes me.
|
AuthorMy name is Nathan and I enjoy building and creating things, weather it be out of wood, paper, or even on the computer. I want to start recording all of the fun things so this is where I am. Why Does this existI have recently started to play with Blender. A 3D modelling and design software. I have also built several costumes and helmets which I will be posting future ones up here. This site is mostly about that and other projects I might have.
If you're interested in this stuff...So I use a program called blender which is a great opensource modelling program. This allows you to model, and also animate and ever program games. Its a great program to use as there are endless possibilities.
http://www.blender.org Another useful site is for the helmets and such that I make. This is from a papercraft design program called Pepakura. It allows you to print out designs to build whatever you want. There are tons of tutorials online to see how to use it. http://www.tamasoft.co.jp/pepakura-en/ Archives
January 2016
Categories |
||||||||||||||||

 RSS Feed
